I have a website where I've attempted to sell some of my crafts, but I'm yet to receive any orders! lol. So, I've decided to change it into a blog. I will no longer be posting on here. Please go to my new blog and sign up for email updates! There is a box on the right hand side where you do it.
Here is the link:
http://blog.coolandunusualfunishment.com/
See you there!
Wednesday, February 23, 2011
Monday, February 21, 2011
More Valentines Cards!
Here are a few other cards I made, but never sent out. It's hard to let go of some of them!!

All of the paper is from Cosmo Cricket. I got "Amor" from Rock Princess. I outlined it with a think black pen, then I covered/glued clear micro beads to it, to give it texture. The heart is also from Rock Princess.
For the inside of the heart, I cut 1/2 inch x 3 inch strips of coordinating paper. Then, I stacked it, so I made a square with each layer of four colors. For each layer, the square gets smaller. The hard part is covering it on the other side so there isn't a huge bump inside the card. I covered it with extra thick paper (not shown) and put a bit sentiment on the inside to help cover it up.
Next!
I have a slight obsession with tiny banners. I recently got the Martha Stewart Cake cartridges, and had to use the AWESOME banners on it! The banners alone are worth the money!

I found this paper in my stack from Valentine's last year, so I decided to use it up. "Valentines Day" is from Rock Princess. This is the perfect font for this holiday! I used pink DMC floss (I got a variety pack for $20.00 + 40% off from Hobby Lobby) and glued each pennant to the back of the floss. I threaded the floss through Papertrey Ink buttons and glued them to the card. I did not glue the pennants to the card, so it would be flowy.

For the inside, I welded the three hearts cut from Martha Stewart All Occasions, to give the inside a little something.
I'm almost finished with a big banner for the next Cricut Circle Monthly Challenge. I'm so excited to show it to y'all! Hopefully I'll be done with it tomorrow.....
I have a website where I "sell" some of my crafts, such as my flower bouquets and jewelry I've made. I put quotation marks around sell, because I haven't sold anything! lol. So, I'm thinking I may move my blog over there. I use GoDaddy.com and it is soooooo much easier to navigate. Plus, I can make it A LOT prettier than this monstrosity, lol!
Until next time!
Monday, February 7, 2011
Circle Magazine Challenge
Okay, this is going to be really quick, sorry!
The challenge was to use four different cuts and incorporate something edible. So here is my take!

The info:
Cuts
1. Sweetheart is from Songbird
2. and 3. The two dicer tags in the background are from Gypsy Wanderings
4. The gumball machine is from Sweethearts cartridge
5. The heart cut out (to fit the heart cup) is from George and Basic Shapes
The edible item I chose was Valentines Nerds to look like mini gumballs in the gumball machine.
I got the heart cup for Christmas. I was looking for a great card to use these, and here it is! They are from Stampin' Up (FABULOUS!)
All the paper is from Cosmo Cricket (MY FAVORITE!).
I hope I win! I want a Cake mini! =)
Monday, January 17, 2011
"Eye" Love You
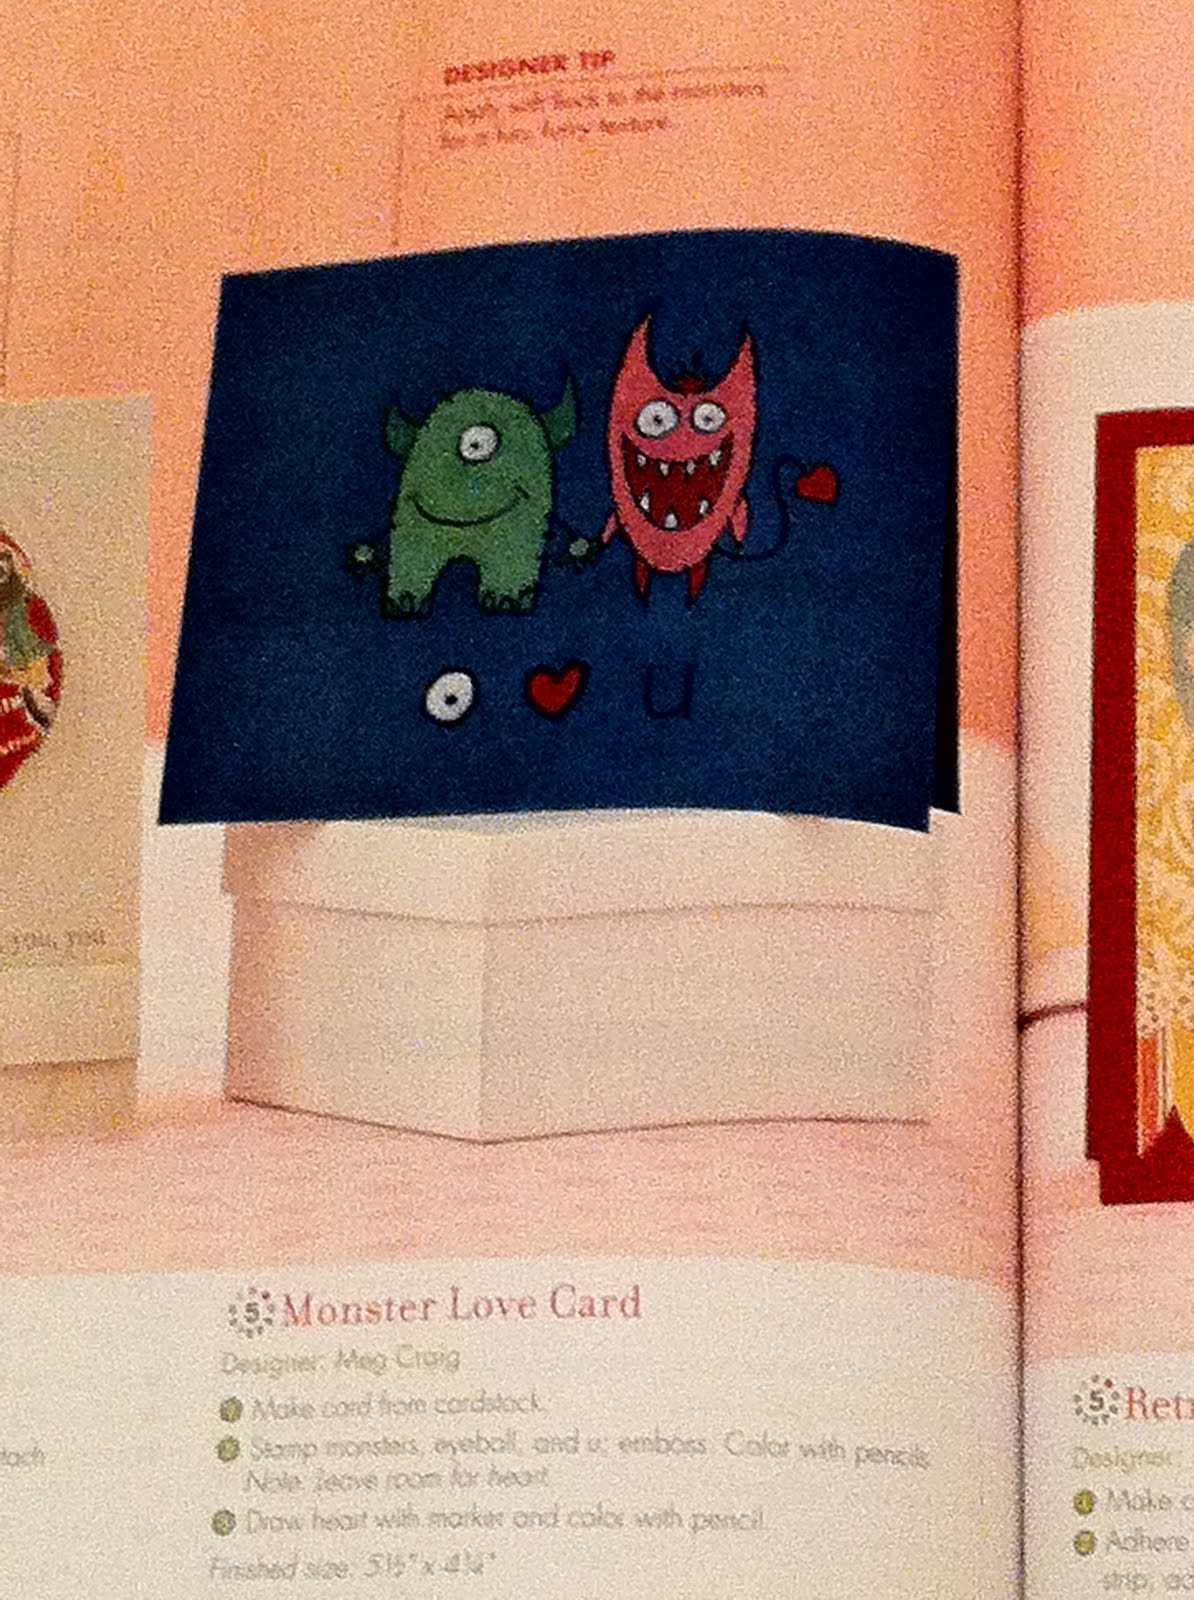
I got this CUTE card idea from the January issue of PaperCrafts Magazine. Here is a picture of the card I scraplifted:

I made two cards, because this is the card I will give my boyfriend, and I always like to have one of my own to look back on. I ended up making the same card two different ways, so now I'll have to decide if I want to give up my favorite or the two or hoard it =).
Here is style 1, an easel card:

This is what the card looks like closed:

The heart ribbon is from American Crafts.
Here is style two (my favorite!):

And the inside:

When you look at the closed card, you'll see the I cut the front. The ""eye" love you" is actually on the inside, so the two sides of the paper are cut unevenly. Does that make sense? lol. Well, this uneveness means this card wont sit up properly, so I decided to make its own stand on the back.
Here is a picture of the card on the stand:

I'm sure this has been done before, but I've never seen it. I think it's just so cool! Here are a few close ups of it:

And here is how the card looks when the stand is laying flat (for storage/mailing purposes):

What I did was I took a 6.00 x 2.5 inch piece of scrap paper and folded it into thirds. I took one of the thirds (it has to be an end) and then folded the end again at .25 inches. SO, you have 3 folds on this piece of paper. You are going to put adhesive on the one third that you also creased at .25 inches. DO NOT put adhesive on the .25 inches crease. Stick down the piece of paper, so the second line is right on the edge of the back of the card.
Now, put adhesive on the .25 inches crease. If you are using permanent adhesive, press your fingers to it a couple of times, so it loses the permanent part but not the stickiness. Lastly, take the other edge, and line it up right on the .25 inches crease. TADA! It should stand up on its own!
Okay, that was confusing even for me. I don't think a lot of people read this, but if someone requests, I will be more than happy to make a video explaining this.
Information on both cards:
The Monster is from Mini Monsters. I wanted a monster with one eye, but I couldn't find any cute ones, so I used the hide contour lines feature of my gypsy and made my own!
"love you" is from Nate's ABC's. I LOVE the font on this cartridge, because this is the font we had to use in college. It is modeled after the Century Gothic font, or so I like to believe.
I used Diamond Glaze and glued Martha Stewart clear micro beads to the monster's belly to give it some dimension. I also glittered the tail and ears using Martha Stewarts new glitter glue line in Tourmaline.
I am more than happy to share my Gypsy file with you! Please, PLEASE let me know if you have questions!
Thank You and Happy New Year Card
I decided to go the extra mile and also make my own thank you cards. I decided to make it a New Year's theme to kill two birds with one stone. When I think of New Years, I think of fireworks and champagne. I decided to draw upon the color and glitteriness of fireworks for my card.
This card is VERY simple and VERY versatile. I got this idea from the Halloween issue of PaperCrafts Magazine:

I used a 1.5 inch circle punch and punched out glitter paper I bought at Hobby Lobby. Every once in awhile, HL puts the specialty paper and glitter paper on sale. Wait til then, because otherwise, It's $1.99/sheet!
Here is the inside:

"Thank You" is from
"&" is from Don Juan.
"Happy New Year" is from Wild Card.
Christmas 2010 Cards
As I've stated before, I've been so unmotivated to make cards for the past month, but my mojo is starting to come back now. YAY!
I am posting the Christmas card I made this year. I decided I wanted to do a book theme this year. I knew EXACTLY which book I was going to design my card after. I was read this book for the first time in first grade. It still captures my heart every year. I share my love of this book with my mom, who gives me a silver bell every year. You figure out the book yet? It's the Polar Express!

Here is my take on it!:

The card size is: 5.75 x 3.5 inches when the card is closed.
"Believe" is from Songbird with a shadow, each letter is .96 inches high and are welded together.
The loop-de-loop is from Martha Stewart, the bells I got at Michaels, and the twine I got from Papertrey Ink.
And the inside:

The quote is from the last page of the book. I used DJ Inkers font (www.djinkers.com) and printed out the quotes on postage labels.
Monday, December 13, 2010
Cricut Circle Weekly Challenge #10
I completely apologize for being MIA for awhile. I just wasn't in the mood to make cards or do anything Cricut-related for awhile. While I still wasn't quite in the mood, I was forced to be in the mood because there are SO many cards I HAVE to make! You ready for my list?:
1. 20 Christmas cards
2. Mom's birthday card
3. Dad's Birthday card
4. Sister's Birthday card
5. Anniversary card
6. About 15 thank you cards
7. New baby card
8. Gift tags for all my gifts
9. I just started a new job less than a week ago (FINALLY!) with the NICEST women ever, so I may try to motiviate myself to make something for them.
Whew! Talk about being busy! My favorite part is seeing the recipient's reaction. It makes it all worth it!
I've also been MIA from the Circle Blog, but I noticed this week's Challenge fit perfectly with the gift tags I have to make. The challenge is to use this sketch, created by the amazing Jana Eubank:

So here is my creation:

While I was at Archiver's a couple of months ago, and found this fun stuff called Flower Soft (http://www.flower-soft.co.uk/Cart/EC-Selected-Product.php?ProductID=43). I found a wreath on one of my Christmas cartridges (I'm not around my Gypsy right now to tell you which one, but any one will do) and cut it out. Then I ran it through my Xyron sticker machine, then pressed the Vintage Christmas Flower Soft onto the sticky side. It was really that easy! I added two red rhinestones on the right bottom side and tied red thread into a bow and glued those on. "Happy Hollydays" was cut with Don Juan, with a shadow and regular cut.
I really like the way it turned out! I think I'm a contender! We'll see!!
When I get time, I'll put up all the cards I've made this season when I find time, and also when the celebration passes, so they don't see their card on here before they receive them!
Subscribe to:
Posts (Atom)